REVIEW -Nifeliz T34/85 Tank Building Set Review


Today, we want to share our speed build video of the T34/85 Tank building set with you, so you can gain a deeper understanding of our T34/85 Tank building set. If you have any thoughts on our video, feel free to provide suggestions. We will continuously optimize and improve.
Opening the box, you will find a transfer sticker sheet, an instruction manual, bags of parts, and our parts storage box.
Let’s spread out the bags of parts. You will see that there are 13 bags in total, each labeled with a number. The large numbers represent the major sections, and you can open them in numerical order. Additionally, you will notice a line of small black numbers on the back of the bags. These small numbers represent specific steps, such as 1.4, which means the bag contains parts for steps 1-4.
Now, let’s open the instruction manual, prepare our parts storage box, and begin our building journey!
According to the instruction manual’s section diagram, we’ll start with the first major section. To build a sturdy tank, we must begin with the tank’s base. The base’s frame is the foundation of the entire tank, determining the model’s stability and mobility. Following the instruction manual’s steps, you’ll find the base assembly process relatively simple, but be mindful of the direction and position of the parts to ensure each piece fits tightly.
Next is the installation of the wheels and tracks. Although this part may seem straightforward, it is crucial for the tank’s overall performance. When installing the wheels, ensure that each wheel is securely attached to the base. Installing the tracks requires some skill; pay attention to the tension of the tracks to ensure that the tank can move smoothly once assembled.
This section focuses on further enhancing the base details. You’ll find this to be an interesting stage as you get to understand the internal structure of the tank while stacking bricks to complete the tank’s base. First, install the internal support structures, which ensure the tank’s sturdiness. Next is the installation of the external armor. This part is relatively simple, but carefully follow the instruction manual to ensure each armor plate is securely attached to the base. Through this step, you will see the tank’s shape gradually taking form, providing a sense of accomplishment.
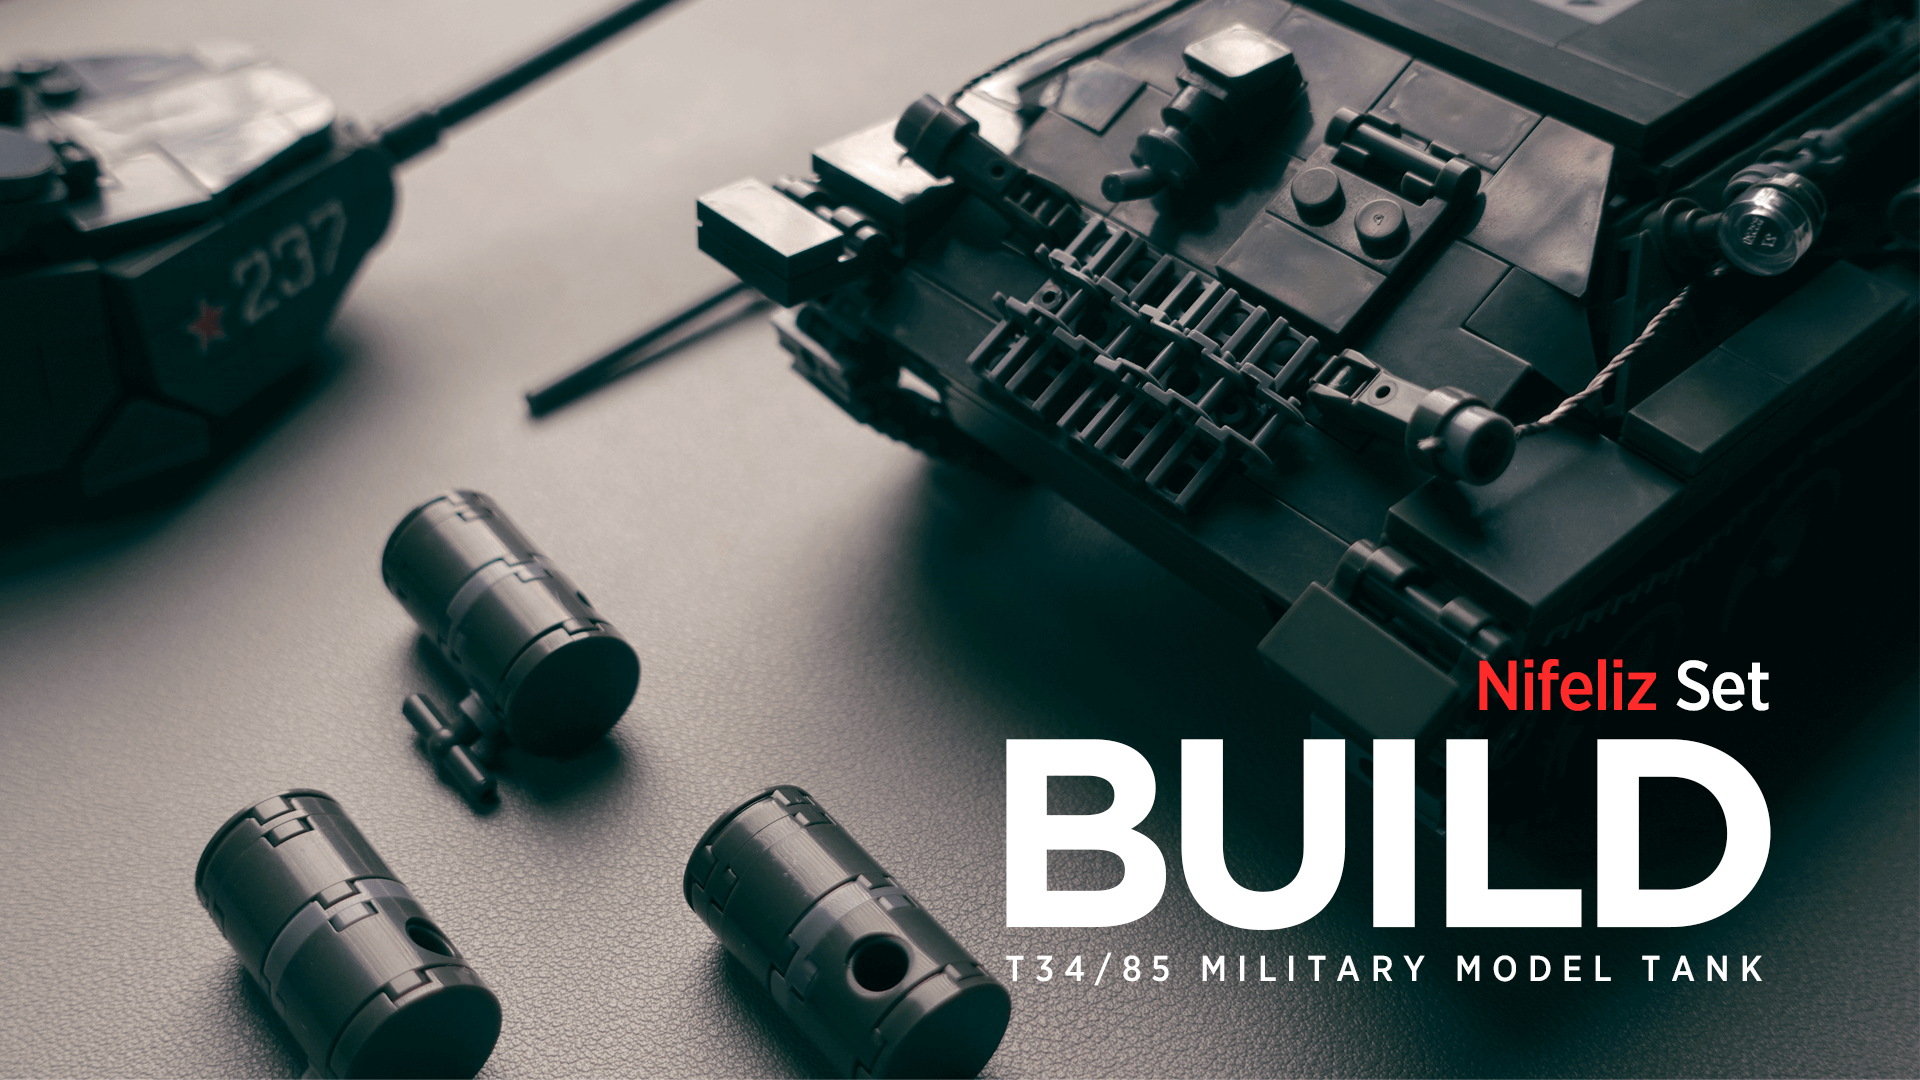
Adding the external fuel tanks means the tank’s base is nearly complete. Although simple, the fuel tanks are an important detail that enhances the tank’s authenticity.
Next is the turret assembly. The turret is the core part of the tank and requires precise placement of each piece to ensure the hexagonal shape of the turret is accurately represented. First, assemble the turret base. Pay attention to the order and angles of the parts to ensure the base is stably attached to the tank.
Of course, don’t forget to attach the gun barrel to the top of the turret. Align it with the connection point between the turret and the base, gently press it into place, and our T34/85 tank will be fully assembled before your eyes.
Finished? Not yet. The final step is to apply our transfer stickers, turning it into a complete tank. When applying the transfer stickers, first peel off the backing, place the transfer tape onto the sticker, smooth out any bubbles or creases, and finally peel away the transfer tape, leaving the sticker in place. This step not only makes your model more realistic but also enhances its display effect.
Through video clips, you can appreciate the finished model from all angles. Each angle showcases the model’s details and design, fully reflecting the unique charm of the T34/85 tank. Detail photos show various parts of the tank, including the tracks, turret, and fuel tanks, allowing you to clearly see the exquisite details.
This product’s difficulty level is medium to low. With only 818 pieces, and the clearly illustrated sections and assembly steps in the instruction manual, even a LEGO novice can quickly get the hang of it. If there’s a downside, it might be that this small tank, compared to other tanks of the same scale, doesn’t allow for the rich internal details like the Leopard 2A7 tank model. However, this results in better stability, making it a perfect display piece for any location.
Through this review, we hope everyone can not only better understand the Nifeliz T34-85 Tank building set but also enjoy the fun of the assembly process. If you are interested in this set, you can click the link below to visit the product page and learn more. We also look forward to your feedback and sharing on this set!